Ubuntu with XFCE, ASP.NET Core and Nginx, part II
After we successfully installed and configured XFCE on Ubuntu 14.04 and ASP.NET Core 1.0 in part 1 of this tutorial, we have to add NGINX to expose our great Hello World app to the internet. As I mentioned in part I, it’s not advisable to expose Kestrel directly, since it’s not meant to be used like that and has lot of limitation as a front-end web server: handling of multiple host names, authentication, HTTPS offloading, caching, just to mention few.
Nginx will receive requests for specific host name (we’ll point subdomain or domain to our Azure VM) and route them to internal Kestrel URL (localhost:5000 in this example). This configuration is called Reverse Proxy. Same thing can be done also with IIS Application Request and Routing module on Windows.
Point DNS to Azure VM
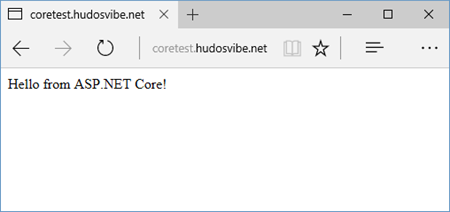
Let’s start with updating our DNS records. Open your DNS provider-of-choice and add CNAME record that points to Azure VM DNS name. Azure usually creates name like myvmname.westeurope.cloudapp.azure.com. Here, I created subdomain on this blog domain: http://coretest.hudosvibe.net
If you don’t want to update DNS records, then just edit you OS hosts file and point subdomain.domain.com to IP address of this Azure server!
NGINX installation
SSH into your VM or RDP into XFCE, and open bash. To install nginx type:
sudo apt-get update
sudo apt-get install nginx
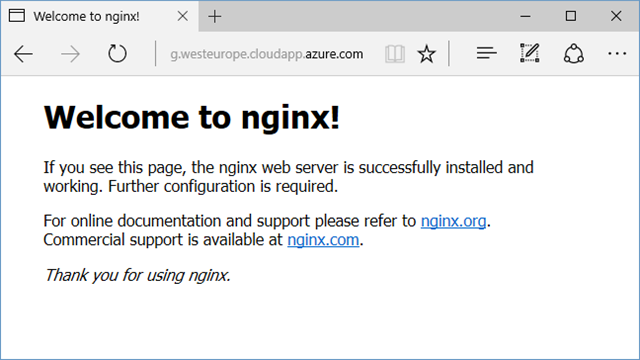
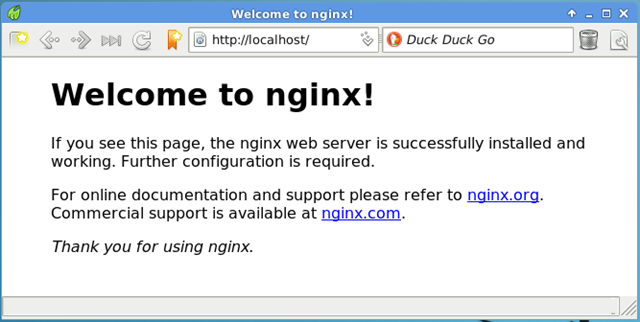
If you open your browser and type Azure DNS name or subdomain into address bar, nginx welcome page should open! From within VM, you can try to open (with Midori) http://localhost, the same welcome page should open (the same web opened from my dev machine and from Ubuntu with Midori):
NGINX Reverse proxy to Kestrel server configuration
Open your favorite editor (nano, geany) as sudo, create a new file with the content (again, change sub/domain name):
server {
listen 80;
listen [::]:80;server_name subdomain.domain.com;
location / {
proxy_pass http://localhost:5000;
}
}
This will forward all requests to internal Kestrel web server that’s listening on the port 5000 (it’s started with dotnet run, right?).
Save the file as /etc/nginx/sites-available/subdomain.domain.com
We have to enable this website, and that’s done by creating a link to that file in /etc/nginx/sites-enabled:
sudo ln -s /etc/nginx/sites-available/subdomain.domain.com /etc/nginx/sites-enabled/
Now open nginx configuration file
sudo nano /etc/nginx/nginx.conf, or
sudo geany /etc/nginx/nginx.conf
find and uncomment this line: server_names_hash_bucket_size 64;
After restarting nginx this reverse proxy configuration should work:
sudo service nginx restart
More details on nginx configuration can be found here, and about reverse proxy please visit this link.


